Mulberry Jam with Cloves
Introduction
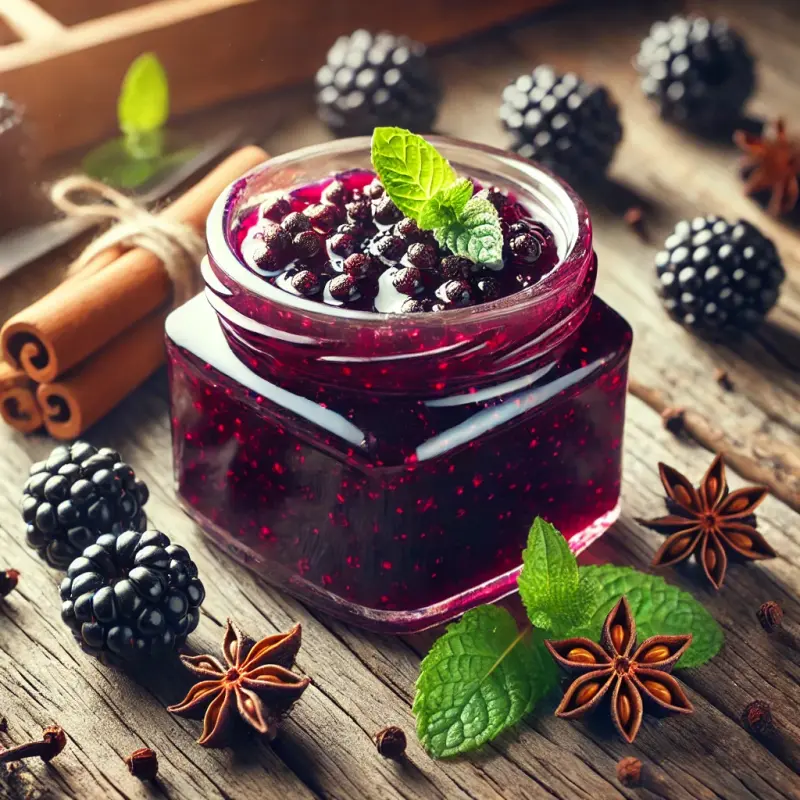
Mulberry jam with cloves is a delightful treat that combines the sweet and juicy flavors of mulberries with the warm, aromatic notes of cloves. This unique jam can elevate your breakfast, enhance your desserts, or simply be enjoyed on its own. Making your own jam at home not only allows you to savor the essence of seasonal fruits but also gives you the opportunity to experiment with flavors and textures. In this article, we will guide you through the step-by-step process of making mulberry jam with cloves, exploring its history, the benefits of homemade preserves, and tips for achieving the perfect consistency.
The Allure of Mulberries
Mulberries are small, sweet fruits that grow on mulberry trees, which are native to Asia, Europe, and North America. These berries are often overlooked but are a treasure trove of flavor. They come in various colors, including white, red, and black, with black mulberries being particularly popular for jam-making due to their rich sweetness and deep flavor. The combination of mulberries with cloves creates a jam that is not only delicious but also aromatic, making it a wonderful addition to any meal.
The History of Jam Making
The art of preserving fruits through jam-making has a rich history. Ancient civilizations utilized various methods to store fruits for later consumption, from drying to cooking with honey. The introduction of sugar in the Middle Ages revolutionized the preservation of fruits, leading to the development of jams and jellies. Today, making jam is a cherished tradition in many households, providing a way to enjoy seasonal fruits long after the harvest.
Ingredients for Mulberry Jam with Cloves
To make mulberry jam infused with cloves, you will need the following ingredients:
- Fresh mulberries: 4 cups, washed and cleaned.
- Granulated sugar: 2 cups, to balance the tartness of the berries.
- Fresh lemon juice: 1/4 cup, to enhance the flavor and help preserve the jam.
- Whole cloves: 4-6, depending on your taste preference.
- Pectin: 1 package (1.75 oz), to aid in thickening the jam.
- Water: 1/2 cup for cooking the mixture.
Step-by-Step Instructions
Step 1: Prepare the Mulberries
-
Washing the Berries: Start by rinsing the mulberries under cool running water. This helps remove any dirt or impurities. Gently pat them dry with a clean kitchen towel.
-
Mashing the Berries: Place the rinsed mulberries in a large mixing bowl. Using a potato masher or a fork, lightly mash the berries to release their juices. Aim for a chunky consistency, leaving some whole berries for texture.
Step 2: Cooking the Jam Mixture
-
Combining Ingredients: In a large pot, combine the mashed mulberries, granulated sugar, fresh lemon juice, and water. Stir the mixture well to ensure the sugar dissolves evenly.
-
Adding Cloves: Add the whole cloves to the pot. These will impart their warm flavor to the jam as it cooks. For easier removal later, consider placing the cloves in a small piece of cheesecloth and tying it shut.
-
Heating the Mixture: Place the pot over medium heat and bring the mixture to a gentle boil. Stir frequently to prevent sticking or burning. Allow the mixture to boil for about 10-15 minutes, allowing the mulberries to soften and the flavors to meld.
Step 3: Incorporate Pectin
- Adding Pectin: After boiling the mixture for 10 minutes, add the pectin. Stir continuously for about 2-3 minutes until the pectin is fully dissolved and the mixture starts to thicken.
Step 4: Test for Doneness
- Checking Consistency: To determine if the jam is ready, drop a spoonful onto a cold plate. Let it sit for a minute, then run your finger through it. If the line holds, the jam is ready. If it’s too runny, continue boiling for an additional 5 minutes and retest.
Step 5: Canning the Jam
-
Preparing Jars: While the jam is cooking, sterilize your canning jars and lids by placing them in a boiling water bath for about 10 minutes. Remove them carefully and let them dry completely.
-
Filling Jars: Once the jam has reached the desired consistency, remove it from the heat. Ladle the hot jam into the prepared jars, leaving about 1/4 inch of headspace at the top. Wipe the rims of the jars with a clean cloth to ensure a good seal.
-
Sealing the Jars: Place the sterilized lids on the jars and screw on the metal bands until they are snug. This ensures a proper seal during the canning process.
Step 6: Processing the Jars
-
Water Bath Processing: Process the filled jars in a boiling water bath for 10-15 minutes. Ensure that the water covers the jars by at least an inch.
-
Cooling and Storing: Carefully remove the jars from the water bath and place them on a clean towel to cool completely. You should hear a popping sound as the jars seal. After they have cooled, check the seals by pressing down in the center of each lid; if it doesn’t pop back, it’s sealed. Store the sealed jars in a cool, dark place.
Conclusion
In conclusion, mulberry jam infused with cloves is a delightful addition to your culinary repertoire. With its sweet and aromatic profile, this jam can enhance a variety of dishes—from spreading on toast to serving with cheese or as a filling for pastries. By following the steps outlined in this article, you can create a delicious homemade preserve that captures the essence of mulberries and the warmth of cloves. Enjoy the process and the delightful flavors that come from your kitchen!
Articles
Opt-in for our notifications to stay updated with the latest and most captivating articles delivered to your email.